Set up your Android Studio Project
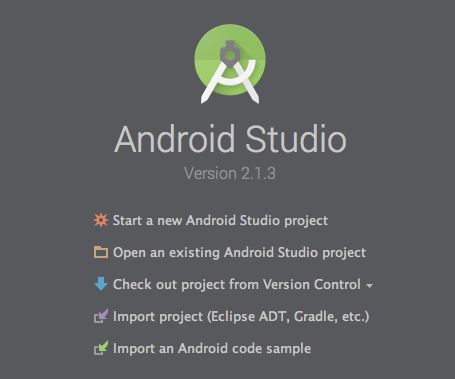
- Open Android Studio. Start a new Android Studio project.
Enter your Application name and Company domain.
Note: Your Company domain cannot contain 'clover.com'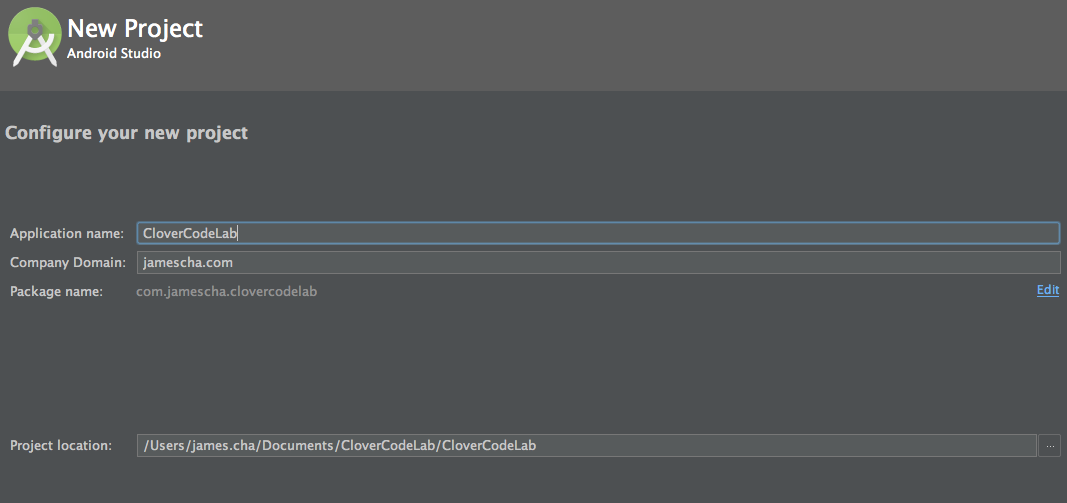
Check Phone and Tablet. Set the Minimum SDK to API 17: Android 4.2 (Jelly Bean).
You'll want to select Android 4.2 (Jelly Bean) to target all our Clover devices. You can find out more about the version of Android each of devices support in our Developer Docs.
Select Empty Activity.
We are starting off with a blank slate, but we'll add elements later.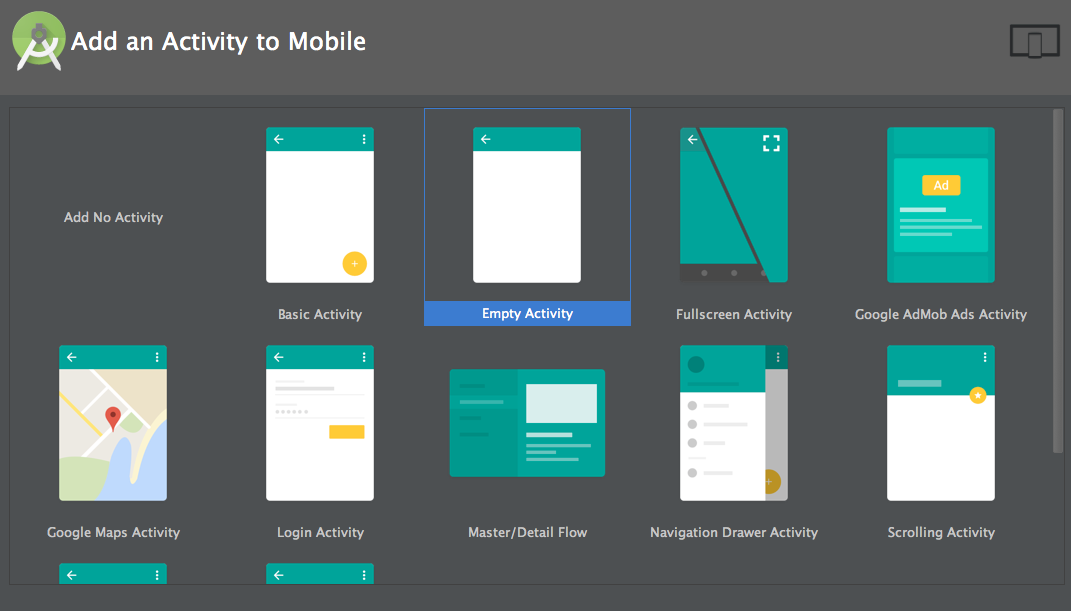
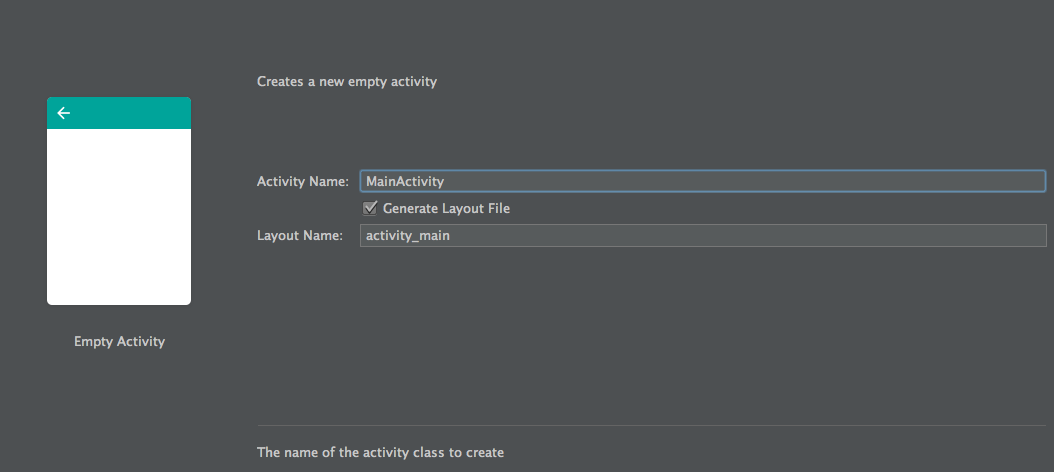
Enter an Activity Name and Layout Name. Keeping the defaults is fine. After selecting Finish, Android Studio should open your newly created project.
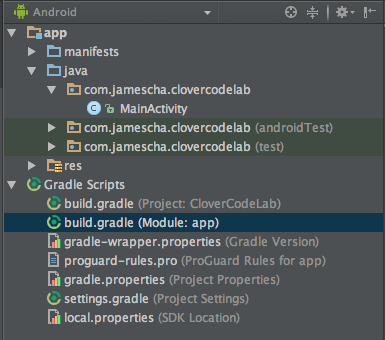
Next, we need to add the Clover Android SDK as a dependency to your project. In Android View, expand Gradle Scripts and open up build.gradle (module: app).
Add the following to dependencies
compile 'com.clover.sdk:clover-android-sdk:latest.release'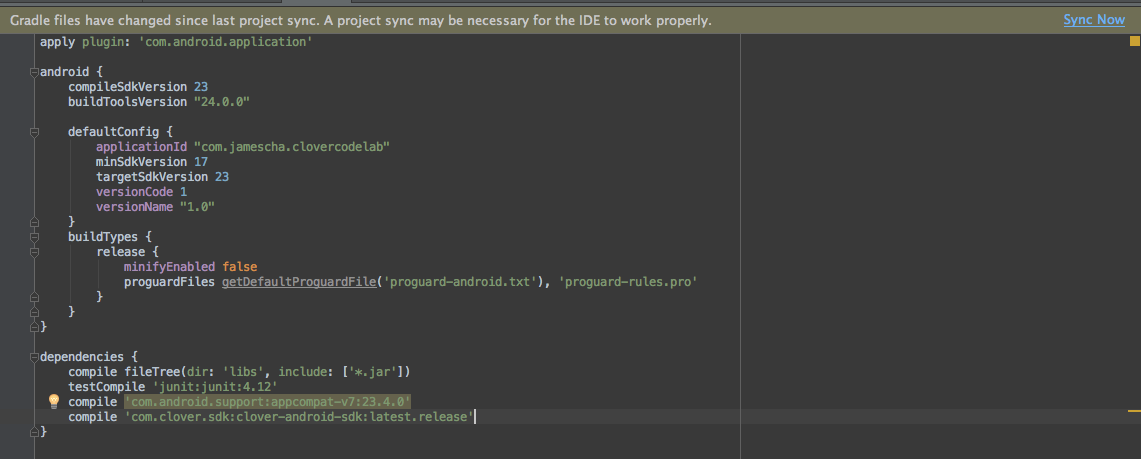
It should look like:dependencies { compile fileTree(dir: 'libs', include: ['*.jar']) testCompile 'junit:junit:4.12' compile 'com.android.support:appcompat-v7:23.4.0' compile 'com.clover.sdk:clover-android-sdk:latest.release' }Select Sync Now on the notification bar.

Next: Set up your Sandbox Clover Developer Account.